
Wire mesh inspection should begin before anyone measures an opening. A roll, panel, or fabricated screen can be dimensionally correct and still be the wrong item, the wrong finish, or damaged by packing and transport. The most reliable receiving process follows the purchase specification in a controlled order: first establish identity, then inspect the characteristics that the order actually makes critical, and finally record the disposition.
This checklist is designed for an approval sample or an incoming shipment. It is not a substitute for a contract-specific inspection plan, a certified test method, or safety requirements for handling heavy rolls and sharp edges. Its value is practical consistency: the buyer, inspector, and supplier should be able to see what was checked, what instrument was used, and whether any departure was accepted in writing.
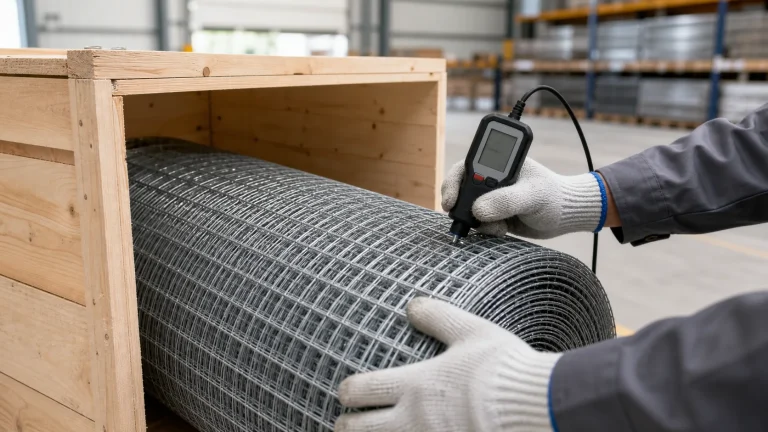
1. Confirm identity before opening the pack
Start with the order number, item code, revision, quantity, and form of supply. Check that the material is actually the requested construction: welded, woven, expanded, perforated, or a fabricated assembly. A woven screen and a welded panel can share a nominal opening while behaving very differently under load, during bending, and at the edge. If construction is in doubt, compare it with the approved drawing or the welded versus woven wire mesh selection guide before continuing.
Then match the label or packing list to the physical bundle. Record lot, coil, or bundle identification when it is supplied. Do not treat a label as proof of chemistry, coating mass, or mechanical performance; it is a traceability aid. Where the purchase order calls for material certificates or test reports, verify that the document identifies the delivered lot and the agreed material grade.
2. Inspect packing and transit condition while it is still intact
Photograph the outside of the pack before removing stretch wrap, crate members, or edge protection. Look for wet packing, crushed roll ends, bent panels, broken bands, exposed cut edges, coating rub marks, and signs that different items were mixed together. This evidence is most useful when it is tied to a delivery note and a time of receipt.
Packing is part of product quality when it protects geometry and finish. A roll intended for a sensitive screen application may need edge protection and moisture control; a large welded panel may need support that prevents permanent bending. The RFQ should state those requirements before pricing, as explained in our guide to writing a wire mesh RFQ that produces comparable supplier quotes. Receiving inspection confirms whether that agreed packing approach was delivered.
3. Check the dimensions that control fit and performance
Use measuring equipment suitable for the tolerance and keep the method consistent. For a panel, confirm length, width, diagonal or squareness when relevant, and any specified frame or border dimensions. For a roll, verify width, outside diameter or supplied length as appropriate, and whether the roll has telescoped or suffered edge damage in transit.
For mesh geometry, treat clear opening, pitch, and wire diameter as separate characteristics. They should not be inferred from one another. Record the measurement locations because mesh can vary near an edge, weld line, or crimp. If the order distinguishes base-wire diameter from finished coated-wire diameter, keep those results separate. A coating can change the clear opening, so an inspector should use the definition written in the specification rather than an informal shop convention.
Do not create a universal pass/fail limit at receiving. The relevant nominal value, tolerance, number of observations, and measuring method should come from the drawing, order, approved sample, or an agreed inspection plan. When a result is close to a limit, repeat the measurement with a verified instrument and preserve the reading rather than averaging away an important deviation.
4. Examine finish, welds, and surface condition
Visual condition is an early check, not a chemical analysis. Look for bare spots, flaking, blistering, excessive zinc build-up, rust, oil contamination, sharp burrs, loose welds, fractured wires, or damage concentrated where bands and packing touched the mesh. Note whether the condition is isolated, repeated, or systematic across several packs.
For galvanized or coated products, do not judge coating thickness from colour or brightness alone. If coating thickness or mass is a contractual requirement, use the specified test method and calibrated instrument, then record the locations and any applicable substrate limitations. For stainless mesh, surface staining should be documented, but its cause should not be guessed from appearance without appropriate material and process evidence.
Weld quality deserves particular attention on welded products. Check that intersections required to be welded are bonded, that there are no obvious burn-through areas, and that the mesh is not distorted by the joining process. For a high-consequence guard, screen, or fabricated component, the acceptance criteria should be set before inspection rather than decided from a photograph after delivery.
5. Inspect edges and flatness in the form the product will be used
Edge condition affects safe handling, assembly, and usable area. Check the requested treatment: trimmed, selvedged, framed, hemmed, deburred, or left as a cut edge. Compare any protruding wire length, burr condition, and corner integrity with the drawing or approved sample. For rolls, inspect both ends; for panels, inspect all four sides and the corners.
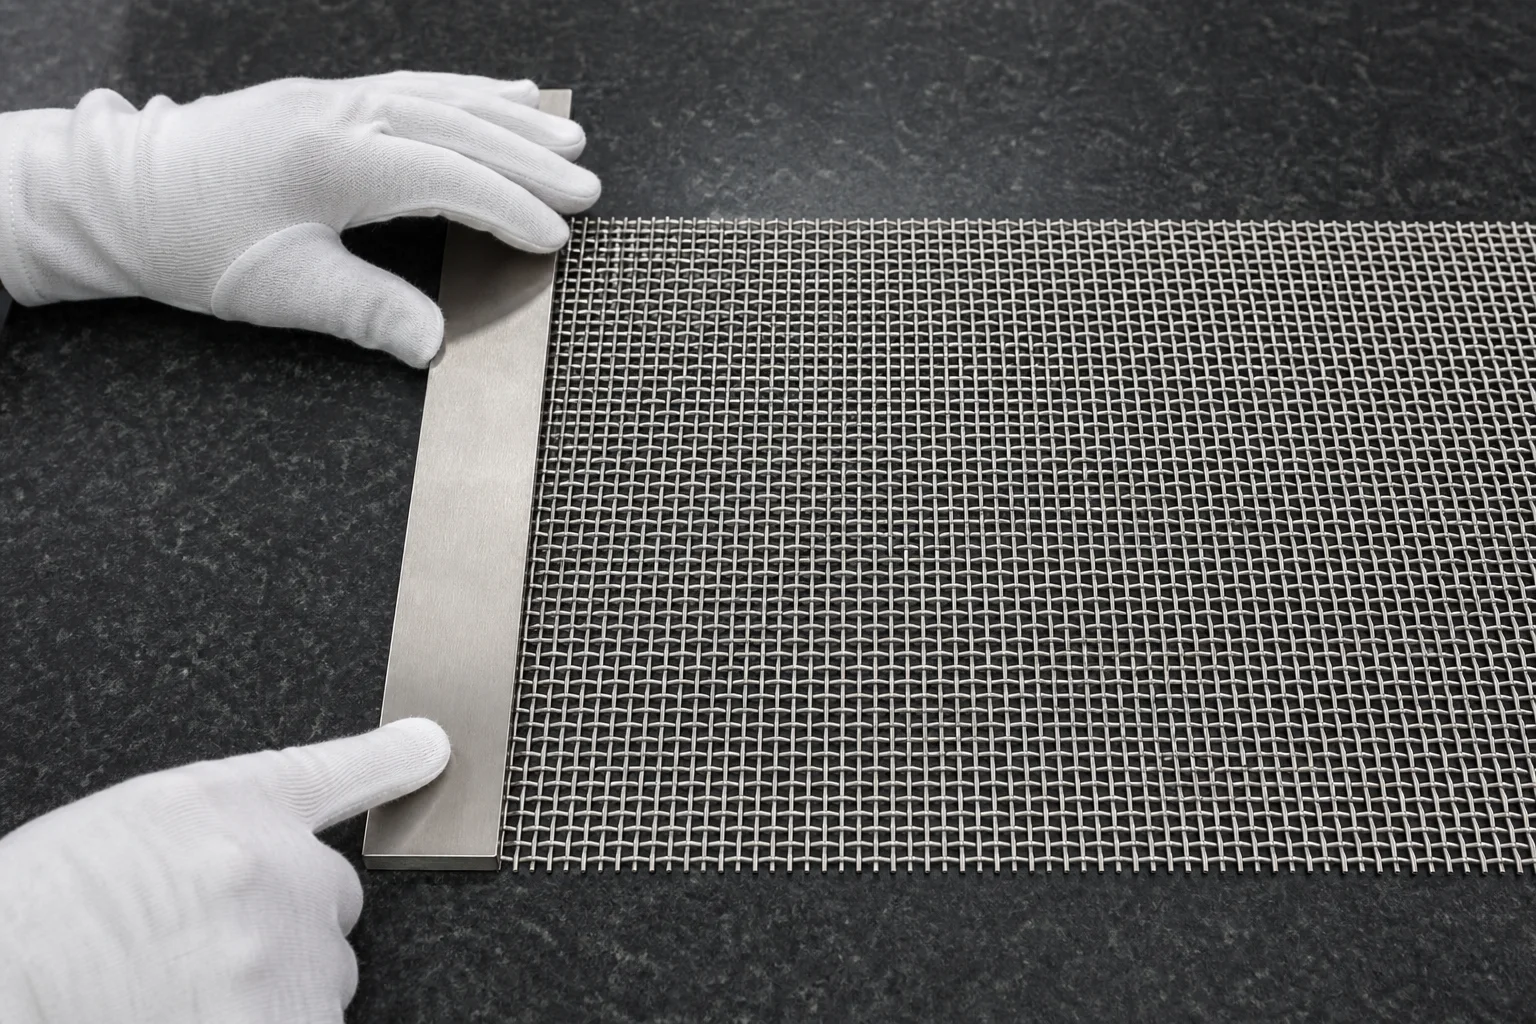
Flatness should be assessed only when the product form and requirement make it meaningful. Lay a panel on an appropriate reference surface or use the agreed straightedge method. A springy woven mesh may be fit for its purpose without lying flat like a rigid panel, while a framed screen or machine guard may require a clearly defined flatness limit. Record the observation method and the location of any bow, twist, or kink.
6. Review documents and sample status separately
An approval sample and a shipment are related, but they answer different questions. The sample confirms that the proposed construction, finish, and workmanship meet the intended requirement. The shipment check confirms that production material and packing remain consistent with the approved basis. Keep the approved sample revision, sample photos, and any written deviations with the order record.
When certificates are required, confirm the product identity, supplier, date, and lot relationship before relying on them. A certificate of analysis may support a material claim, but it does not automatically demonstrate every delivered dimension or finish requirement. Likewise, a successful dimensional check does not replace the documentation requested for a regulated or traceable application.
This separation matters especially when supply involves several process steps. Our analysis of Anping’s precision-materials and digital-trade upgrade notes how process visibility improves sourcing decisions; at receiving, that visibility should translate into clear records of what the inspector actually saw and measured.
7. Record a clear disposition instead of an informal judgement
Use a short report that identifies the item, quantity inspected, date, inspector, measuring equipment, observations, photographs, and the exact requirement used for comparison. State one of three outcomes: accepted, accepted with a documented concession, or held pending supplier disposition. Keep non-conforming material separated so it cannot be released by mistake.
For a deviation, describe the fact rather than the presumed cause: for example, “three panels show bent corners after unpacking” is stronger than “packing was poor.” Ask the supplier for corrective action only after the condition, quantity, and evidence are established. This protects both sides from an argument based on incomplete photographs or memory.
The best inspection checklist is short enough to use and specific enough to defend. It turns a receiving dock into a controlled handover between purchasing, quality, and production. For more practical sourcing and quality topics, see our editorial approach or use the contact page to suggest a correction or future guide.